An old cottage kitchen has a way of humbling a renovation. The beams are charming until they sit exactly where the fridge needs to go. The walls are crooked, the ceiling dips, and somewhere behind the plaster there is a pipe nobody has mentioned since 1974. None of this means you cannot have a warm, workable kitchen. It means the order in which you make decisions matters far more than it does in a new build. These are the mistakes that most often cost cottage owners money, comfort, and the character they were trying to protect.
Modern kitchen design assumes square corners and a straight run of units. A cottage rarely offers either. If you order cabinetry from a plan drawn on a laptop without measuring the room properly, you will spend the fitting week with a saw and a growing sense of regret.
Measure at floor level, at worktop height, and just under the ceiling, in several places along each wall. Those three sets of numbers will differ, sometimes by a surprising amount. Note where the ceiling drops, which doors swing into the room, and where the window reveals eat into your run of worktop.
Then think about drainage before you think about beauty. Moving a sink across the room means new waste runs, and in a cottage with a solid stone floor that is a serious job rather than a small one. Keeping the sink near the existing stack, and the cooker near the chimney where a flue already exists, saves money that you can spend on the parts of the kitchen people actually notice.
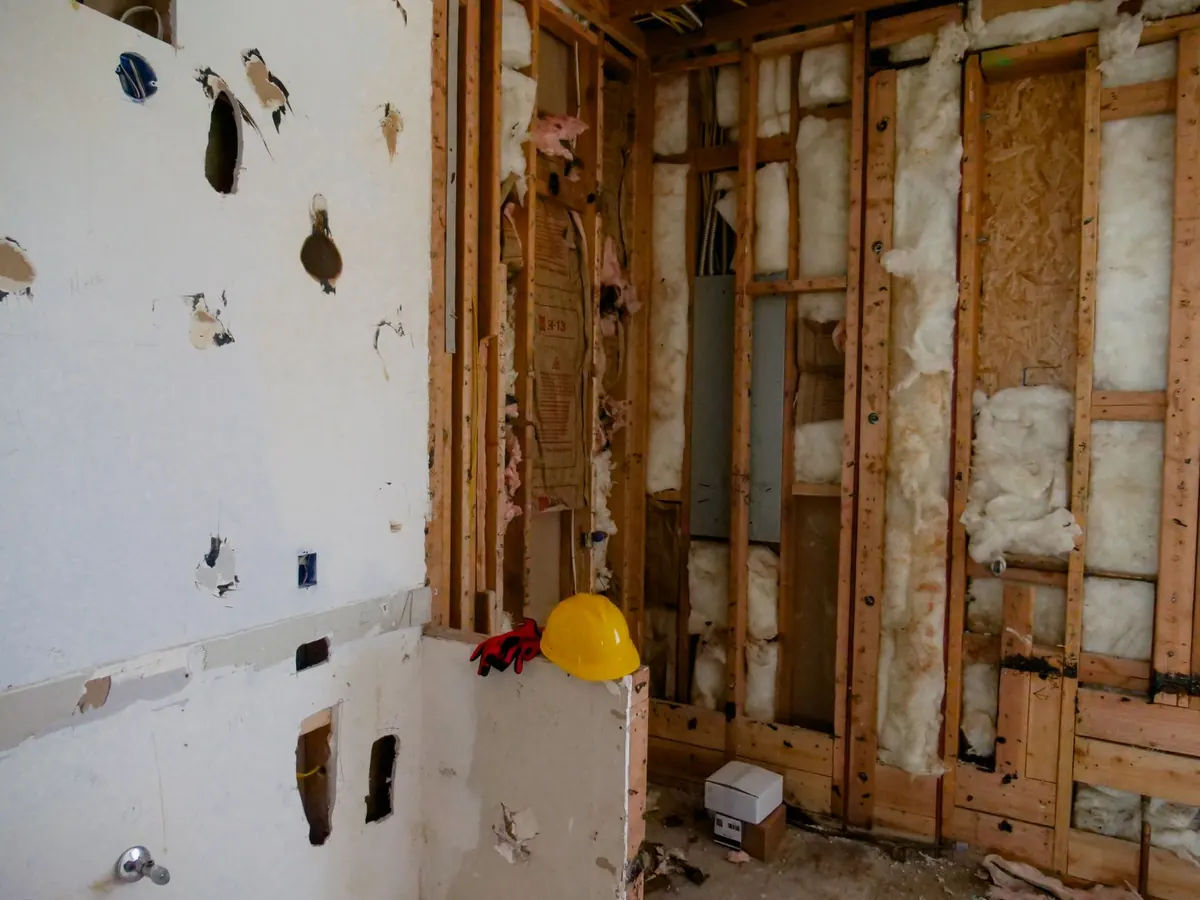
Cottage walls are rarely straightforward. A wall that looks like a thin stud partition can be carrying the floor above it. An apparently solid wall may be rubble-filled stone that crumbles as soon as you open it up.
Before any wall comes down, have a structural engineer look at it. That report is inexpensive compared with a sagging first floor or a new steel beam fitted after the fact. If the cottage is listed, or sits in a conservation area, you will usually need consent before altering structure, windows, or external finishes. Speak to your local planning authority early rather than hoping for forgiveness later. Retrospective approval is stressful, slow, and not guaranteed.
Even where permission is not an issue, think about what an open-plan space does to a cottage. Removing a wall can leave you with a long, cold room, a lost pantry, and nowhere to hide the clutter that a small kitchen generates. Sometimes a doorway widened into an arch gives you the same sense of space with half the disruption.
Old cottages manage moisture differently from modern houses. Dense, impermeable materials trap water inside walls that were designed to dry outwards, and that is how damp, blown plaster and rotting timbers begin.
Cement render, gypsum plaster and plastic-based paints on a solid stone or cob wall are common culprits. Traditional lime plaster and breathable paints are more forgiving and, in a cottage, they look right. The same logic applies to floors: sealing a stone floor with an impermeable membrane can push moisture sideways into the walls.
High-gloss slab doors, mirror-polished worktops and walls of stainless steel will always look as though they arrived from a different building. For cottage kitchens, matte painted timber, honed stone or solid timber worktops, and simple brass or blackened metal handles tend to sit far more comfortably. Mixed finishes and a little visible wear are not flaws here; they are the point.
The most expensive mistake is also the quietest one. Sandblasting beams smooth, painting over a hundred-year-old pantry cupboard, lifting flagstones in favour of porcelain tiles, or replacing original ledge-and-brace doors with hollow modern ones all remove exactly what made the room worth renovating.
The rule that serves most cottage owners well is: repair first, restore second, replace last. Old pine can be stripped and waxed. A tired dresser can be rehung and repainted. A flagstone floor can be cleaned, re-laid and left uneven. New work should be the thing you notice least.
Kitchen renovations reveal problems in a reliable order, usually the week after you have spent the money earmarked for something else. Build a contingency of around fifteen to twenty percent, and treat it as untouchable.
Add a realistic time buffer too. Cottage work moves slowly because nothing is standard, and tradespeople cannot predict what is behind the first layer of plaster.
A tall American-style fridge in a room with low beams is not a design choice; it is a daily irritation. Measure appliance heights against the lowest point of the ceiling, not the average. A range cooker needs clearance above it and an extractor that actually fits the space, which is often trickier than it sounds under a sloping ceiling.
Beyond fitting, think about how you cook. Deep drawers generally serve a cottage kitchen better than base cupboards, because you can see everything without kneeling. A narrow pull-out larder uses awkward gaps efficiently. Keep plates near the dishwasher, bins near the prep area, and leave at least one clear stretch of worktop for chopping.
Character will not save you if you cannot see what you are doing. Plan lighting in layers: a warm ceiling light, task lighting under wall units, and a low-level light or two for evenings. Fit more sockets than you think you need, including one for a phone or speaker on the worktop.
Check your worktop height against the people who use the kitchen most; standard heights suit some bodies and strain others. Ventilation matters as much as heat, especially in a sealed, well-insulated room, so choose an extractor rated for the space and duct it properly rather than recirculating if you can.
Live with the room for a few weeks before you commit. Photograph it at different times of day, stand in it while you make a cup of tea, and notice what already works. Then decide what to keep, what to repair and what genuinely has to go.
Do that, and the finished kitchen will feel less like a showroom installed in an old building and more like a room that has always belonged there.
Photo: Curtis Adams / Pexels