Open shelving is one of the few decorating choices that genuinely belongs in an old house. A Victorian scullery had hooks and a dresser, a Georgian pantry lined its walls with stoneware, a farmhouse kitchen kept its bowls within reach. The shelves were never the problem.
The clutter is. Add cables, cereal boxes, mismatched mugs and a pile of post, and a shelf that looked charming in a photograph becomes the job you keep meaning to sort out. Multiply that by three shelves, and you stop seeing the room at all.
The answer isn't to retreat behind cupboard doors. Give the shelves a system: a repeatable formula for what goes where, and firm rules about what never goes up there at all. Once the rules are set, restyling takes minutes rather than an afternoon.
Before you move a single jar, read the room. Period houses already have strong horizontal lines — a picture rail, a dado, the top of a range, a deep window lintel — and open shelves settle in when they align with one of them rather than inventing their own height.
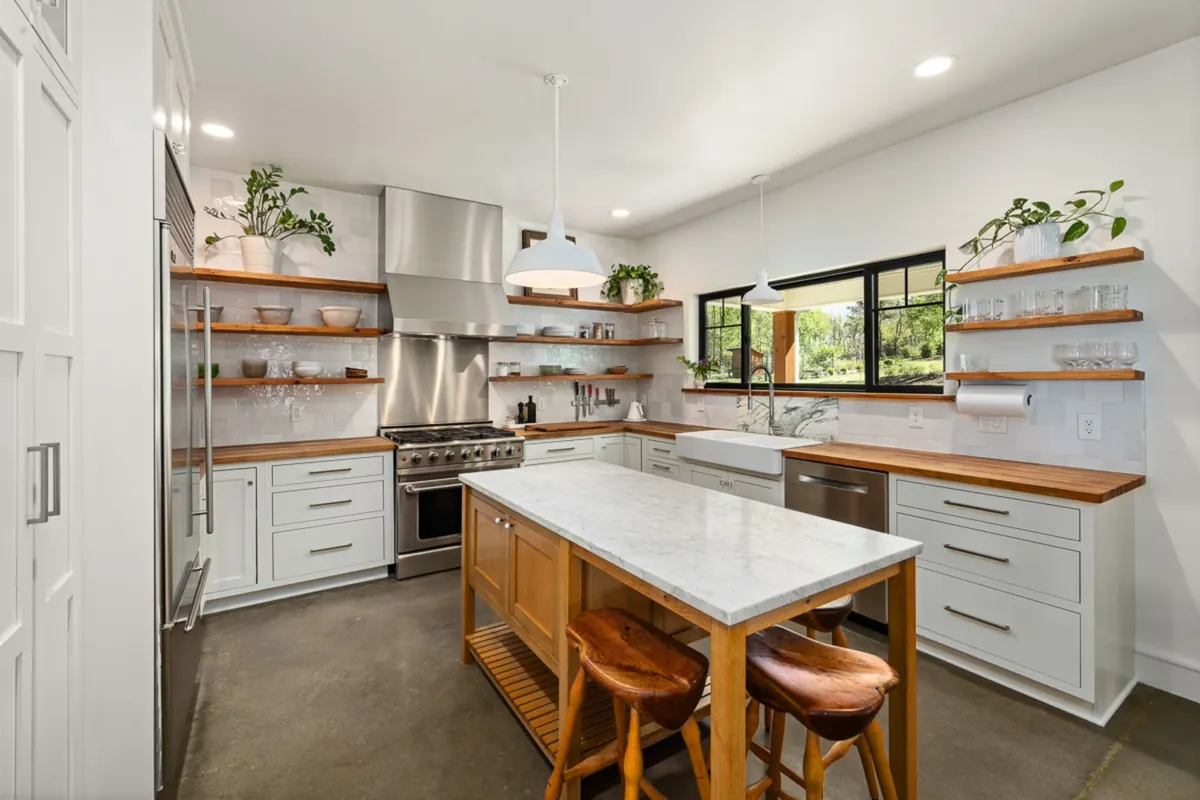
In a kitchen, 22–25cm of depth is about right: enough for a dinner plate, shallow enough that nothing lurks at the back. Set the lowest shelf at least 45cm above the worktop so you can still chop, fill the kettle and push the toaster back. Two or three shelves is plenty; five stacked up a wall starts to read as a shop display.
Alcoves either side of a chimney breast are the natural home for shelving, and a pantry wall of full-width boards looks entirely correct. Give windows, range hoods and boilers a wide berth. In a sitting room or hallway, the same logic applies: a shelf that runs into a window reveal or interrupts a picture rail will always look like an afterthought.
Think about the boards themselves, too. In an old house, painted timber in the same colour as the wall lets the objects lead, while waxed pine or a darker stained board draws attention to the shelf itself. Brackets should be simple — cast iron, slim brass, or a plain wooden batten — and fixed into solid masonry or a stud, not just plaster. A shelf that sags under a stack of plates is clutter before it holds anything.
Once the structure is right, arranging becomes almost mechanical. Treat each shelf as one composition rather than a row of objects, and build it from three parts:
Repeat that triangle from shelf to shelf, but shift the anchor to the other side each time so the eye moves in a gentle zigzag instead of straight up the wall. On a single shelf, the proportions might be a tall enamel jug at the left, a stack of four creamware plates in the middle, and a small glass jar of dried flowers at the right. That's it — three elements, plenty of air, and the shelf looks intentional.
This is the rule that separates curated from cluttered. If a shelf feels finished and slightly bare, it's probably right. Objects need air around them; a crowded shelf loses the shape of everything on it. Try removing one item from every shelf and see how much calmer the whole wall becomes. The empty third isn't wasted space — it's the thing that makes the other two-thirds readable.
If a tall jug sits on the middle shelf, keep the space directly above and below it low. Never line tall things up vertically — that's what makes a wall of shelving feel like a stockroom. Instead, let the tallest object on each shelf sit at a different point across the width. The result is a wall that feels composed rather than regimented.
Leave a third of every shelf empty. The gaps are doing as much work as the objects.
Shelves in a room where you actually cook have to earn their keep. These rules keep them useful without turning them into a display case:
Some objects improve an open shelf; others just take up room. The test is simple: would you display it if it held nothing at all?
Worth keeping out: creamware and ironstone, plain stoneware, enamel, copper, pewter, clear glass jars, wooden boards, rolled linen, wicker. They have texture, a matte finish and a shape you'd recognise across the room. Add a few living things — a pot of thyme, a small fern, a single stem in a bottle — and the shelf relaxes.
Better behind a door: cereal boxes, plastic tubs, branded packaging, cleaning bottles, instruction booklets, novelty mugs, chargers. None of these are shameful — they simply aren't doing decorative work. The same goes for paperwork. A pile of bills on an open shelf undoes an hour of arranging; give post a home in a drawer or a lidded box, and deal with it there.
Open shelving in a period home often shares a wall with modern life: a router, a phone charger, a lamp, a set of keys. Rather than pretending these things don't exist, give them a place that looks deliberate. A small woven basket can hold chargers and cables; a shallow tray can corral keys and sunglasses; a lidded stoneware jar can hide the remote controls. The rule is the same as for everything else: contain, group, and leave space around it.
In a kitchen, keep a single shelf near the door for the things that land when you walk in — a bowl for keys, a hook for the dog lead, a tray for post. Because it has a defined job, it stays tidy rather than becoming a dumping ground. If a surface has no purpose, it will collect clutter; if it has a specific one, it tends to behave.
A period home changes with the year, and open shelves can change with it. In summer, swap heavy stoneware for clear glass, white ceramics and a jug of garden flowers. In autumn, bring out darker pottery, wooden boards and dried stems. At Christmas, a few sprigs of foliage and a single bowl of baubles are enough; you don't need to restyle every shelf.
Keep the underlying formula the same and only change the accents. That way the shelves still look like yours, not like a seasonal display in a shop window. A quarterly edit is the perfect moment to rotate a few pieces in and out, rather than buying anything new.
Do one shelf at a time, and the whole wall comes back into focus without a wasted weekend. Open shelves in an old house were never meant to be a display of plenty. They were meant to hold what you use, within reach, in a room that already knows what it is. Get the system right, and the clutter stops being a problem — it simply has somewhere else to go.
Photo: Curtis Adams / Pexels